Hi everyone, welcome to week 2 of Focus on Free Motion Quilting! I spent some time in the last few days working on basting and quilting my king size quilt. It is challenging but I'm breaking it up into chunks to make it more doable. More on that in a bit.
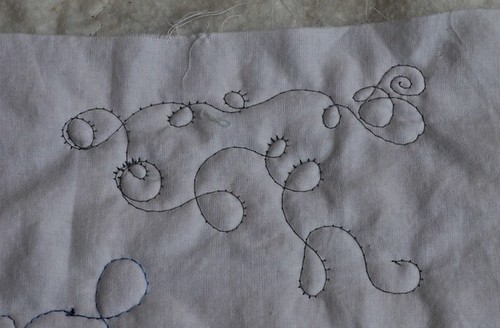
April and I exchanged some emails last week about tension, and I wanted to address that here on the blog in case anyone else is having tension problems while free motion quilting. I didn't mention this in last week's post, but I do adjust my top thread tension when I free motion quilt; this keeps the top thread from getting pulled to the back when I do loops and curves. It took me a while to feel like I could change the tension dial as I was taught as a kid to never touch it! But I realized if I didn't like what happened when I changed it, I could put it back on the default setting and everything would be ok. Here's a picture to show how changing my top thread tension helps with my FMQ tension problems:
This is the bottom of my quilt sandwich, that's where top thread tension issues show up in my experience. I started on the bottom right with my tension at its normal setting. See all the places where the top thread was pulled down to the bottom? (April calls them eyelashes, they kind of look like it.) In the top right area of this photo, you can see where I adjusted the tension dial up to 7 and the top thread was no longer being pulled down.
April also blogged about her tension issues, and also discussed the success she's had with quilting with her feed dogs up. Her practice free motion quilted leaves look great!
Now about my project: I am quilting a king size quilt in a regular size domestic machine. In order to make this a little easier, I decided to only layer and baste batting into the middle approx. 1/3 of the quilt. After I get that part of the quilt all quilted, I'll hand baste the remaining batting on one side at a time, and baste and quilt those outer sides. I'm quilting the big blocks first and then I'll do the sashing.
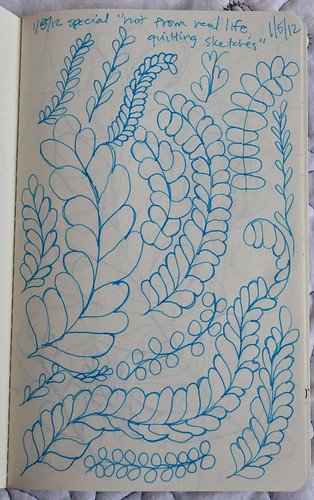
I took Elizabeth's advice and sketched out my blocks and how I would quilt each part of them. I have also been practicing drawing my feathers and other quilting designs.
I'm going to keep practicing.
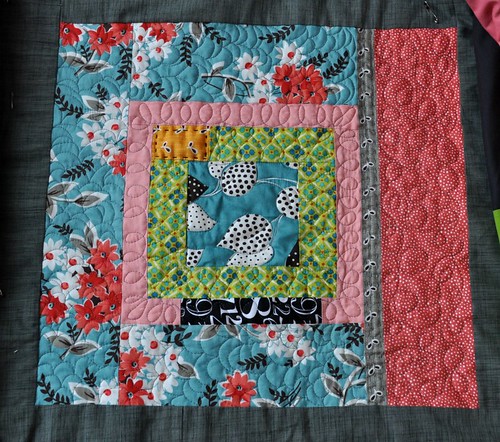
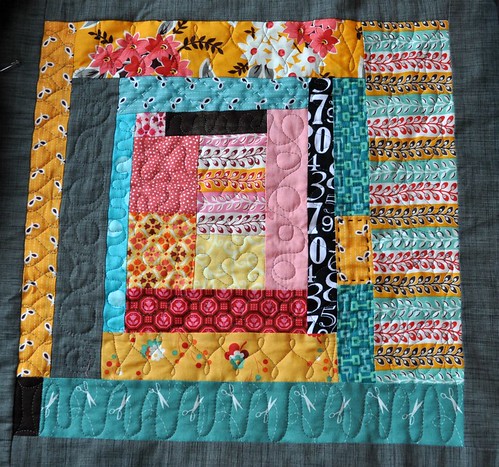
And here are pictures of the blocks I've quilted so far:
Block 1
Block 2
Block 3
What have you been working on? Do you have any questions or tips to share?
Thanks again to the Focus on Free Motion sponsors!
Here's the prize drawing information FYI:
*Be
thinking about what you want to do for your free motion quilted project
for the prize drawing at the end of the month. It needs to be finished
this
month but can already be started if needed. The project could be a small
mini-quilt or a large quilt, or something in between, it’s up to you.
Over the next few weeks, I will share some projects that I think would
be good for beginning or improving free motion quilting skills.
*About
the prizes--there will be a link-up at the end of the month where
participants can link to a blog post or flickr photo sharing their
completed free motion quilted project. The link-up will be open for 24
hours and then winners will be chosen randomly from those who enter.

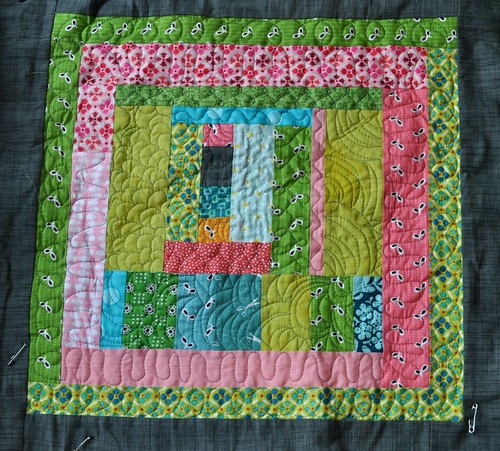


Your quilting on these blocks is fantastic! I think it took me a while to understand the pattern didn't have to be an all-over one but each block could have it's own set of patterns.
ReplyDeleteOk, that tip about only putting batting in the middle? BRILLIANT. Wish I'd thought of that two years ago, the last time I quilted, when I made an oversized-queen for my MIL!! (Seriously...it's taken me two years to get up the gumption to start quilting again. I did a small project last night, and it felt good!)
ReplyDeleteI started to quilt not long ago and -of course ;) - had to do a "real" big quilt as a first project.. It was a gift for my husband who moved to Germany from the US and I took the impression of flying over the Midwest as my theme. So many different, irregular patches of green&brown. Maybe not the most colorful/beautiful, but very meaningful for us. Since I had to quilt it with my domestic machine as well I went with the same method as you and quilted each fabric in another way.
ReplyDeleteI just wish I had read your tension hints before, since the back of my quilt shows "eyelashes over eyelashes"... ;)