Tuesday, December 08, 2015

Little House Pillow

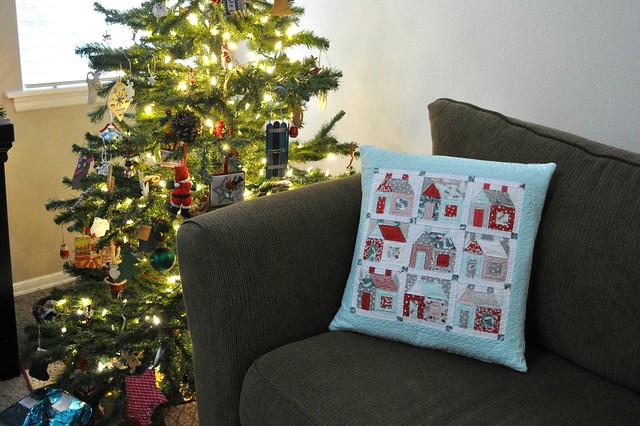
At the end of October I came across this blog on Pinterest and couldn't get those little house blocks out of my head. I had a Winterberry charm pack on hand, so I did some quilt math and made a block that wasn't quite right. I redid my math and template drawing, and made 9 little houses.

I decided to sew them into a pillow, because I have more space for pillows at this point than I do for Christmas wall quilts.

house pillow

The houses are free motion quilted with an orange peel style corner-to-corner curve design, there's a wavy stitch in the sashing, and the loopy border quilting is a variation on, and my first attempt at the Beginner Loops design from the Inbox Jaunt. You can tell I didn't mark any lines to guide the width of my motifs... I think it looks ok anyway.

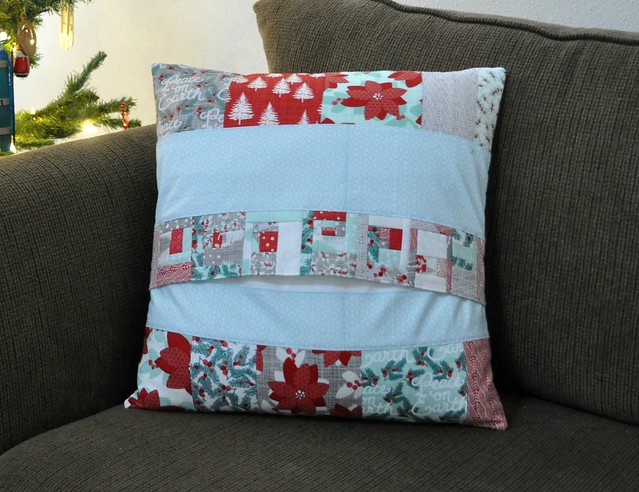
I made some little log cabin blocks with the scraps and put a row of them on the back. I used some of the leftover charm squares too. The back isn't quilted, it's a double layer of quilting fabric.

house pillow back
The pillow is 18" square and the house blocks finish up at 3 3/4" square.

I'm really happy it's done and looking forward to sewing something with larger pieces of fabric next.
house pillow front


Monday, September 28, 2015

Big finish

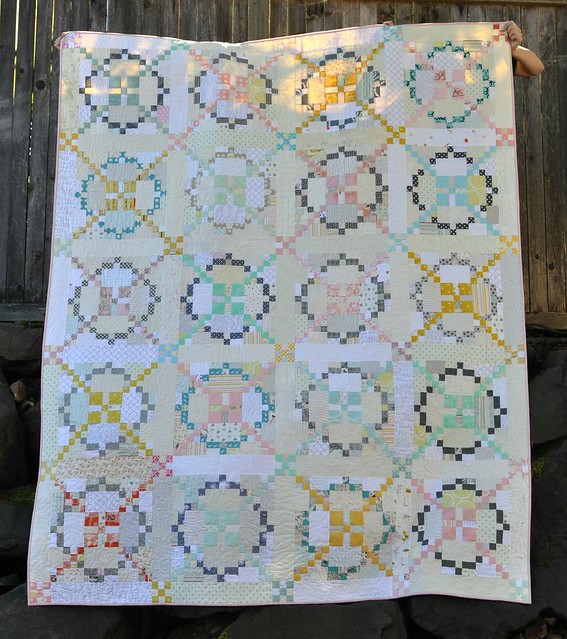
I finished up my #apqquiltalong quilt, back in May. This was the quiltalong hosted in 2014 by American Patchwork and Quilting on instagram, called Tone it Down.

#apqquiltalong finished quilt


I had such a good time making this quilt. I was inspired by Svetlana at SOTAK's pastel version of this quilt but changed it up a little bit, ending with pink (on the coral/peach side), golden yellow, turquoise/aqua, and mint green along with a variety of grays. The background is all kinds of low volume fabrics; white or gray toned along with creamy off-whites. I think it worked. Some of my individual blocks, a couple of the yellows actually, were kind of uglies on their own but I knew that they would add to the quilt as a whole even if they were never going to be anyone's favorite.

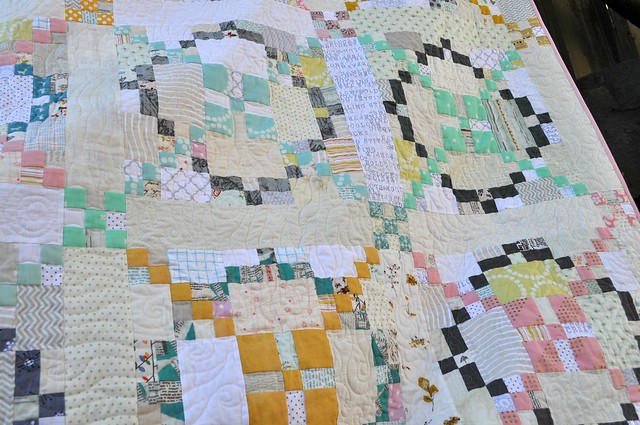
#apqquiltalong detail

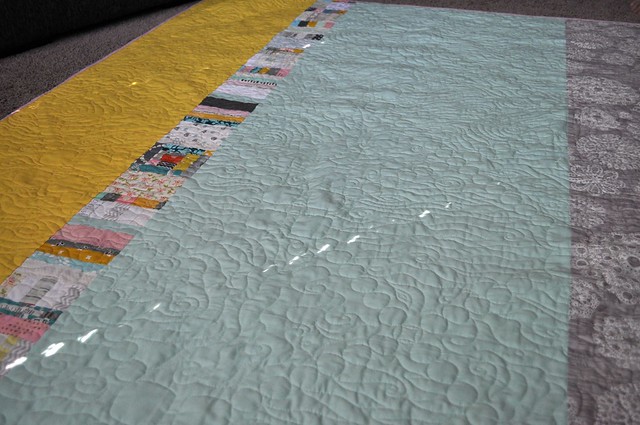
I machine quilted it on my Juki with waves and swirls. This quilt is big and quilting it was a challenge. I started and stopped a few times and that made it take forever. But I did eventually push through and complete it.

I have one construction tip for next time (yeah, maybe) or if anyone reading is considering making one. Don't cut the long sashing pieces until the blocks are all sewn and measured. With so many small pieces, seam allowance is critical for this pattern, and while I was very consistent with my seam allowance, I was a tiny bit too scant and my blocks ended up about 1/8" bigger than the sashing measurement given in the pattern. And then, most of my sashing pieces were cut with the long side along the grain of the fabric, which means I couldn't really stretch them to fit. So I mostly eased the blocks to fit the sashing by sewing those seams with the block on the bottom. It worked out fine in the end, but would have been better to just cut the sashing a tiny bit longer to fit.

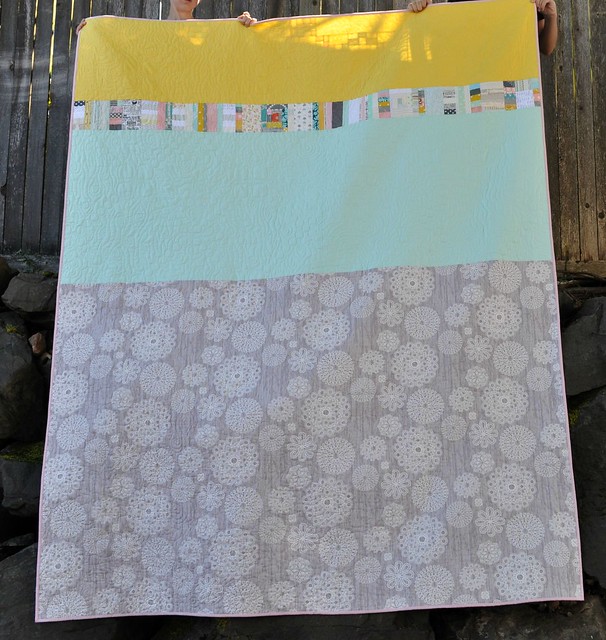
#apqquiltalong back

The back has a long pieced strip, a couple of Kona solid fabrics, and a Violet Craft doily print in gray-brown. Binding was a kona pink that coordinated with most of the pinks on the front.

Overall, I had a great experience making this quilt. Each block is an accomplishment in this pattern, and completing the whole quilt (75"x93") is something I really feel good about! It's on my daughter's bed now, and I love the feeling the soft colors add to her bedroom.

#apqquiltalong back


Monday, May 18, 2015

Rhino Quilt 2


I'm sharing this quilt as my entry to Blogger's Quilt Festival. As always, many thanks to Amy for hosting the festival! Please stop by Amy's Creative Side and look at all the quilts!

My first rhino quilt was finished in early 2014 and given to my brother. By the time I finished it, I was sad to see it go, so much so that I decided to make another one to keep.
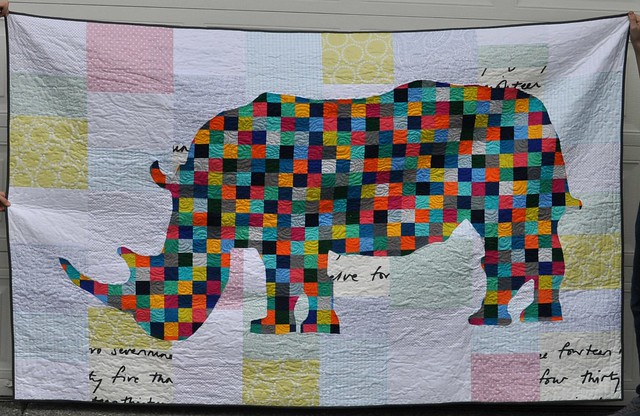
rhino quilt 2
This time I made the rhino from squares cut from a Kona Summer 2013 rollup (minus 2 colors I didn't care for), and the background is mostly a cooler white/light (except for the pink and yellow bits) where the first rhino had an off-white background.
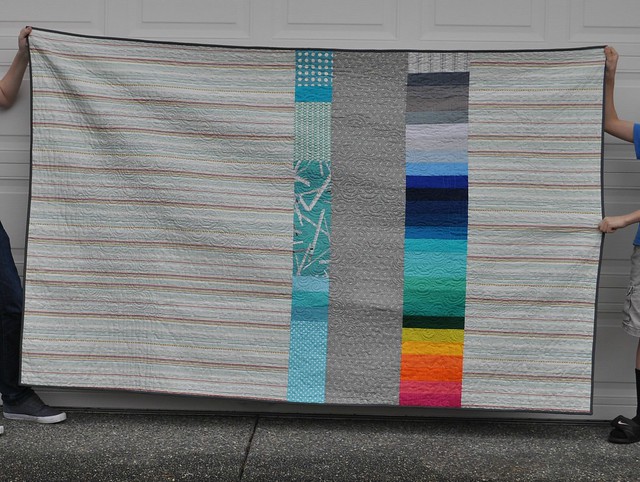
rhino quilt 2 back
(My quilt holders are not equal heights. This was taken in a hurry in a little bit of rain.)

The back has a strip with the leftover pieces of the rollup, a scrappy turquoise strip, some gray flea market fancy seeds, and a stripe fabric from the Basic Grey PB&J line.

The machine quilting on this quilt was similar to how I quilted the first rhino quilt. I quilted swirls in the rhino again:
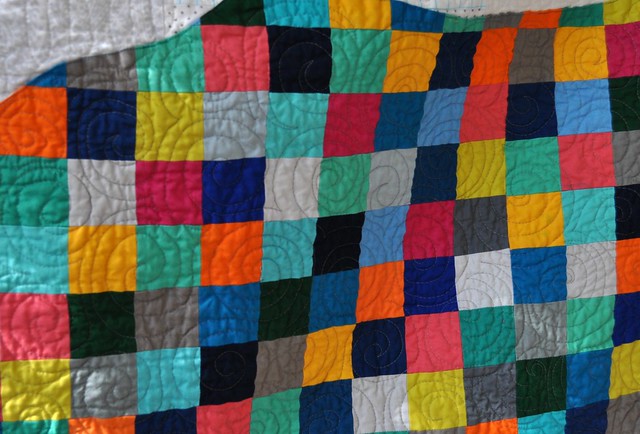
rhino quilting

And this time I quilted the background in a sort of vertical finger-like stipple. Does anyone know if this has a name?
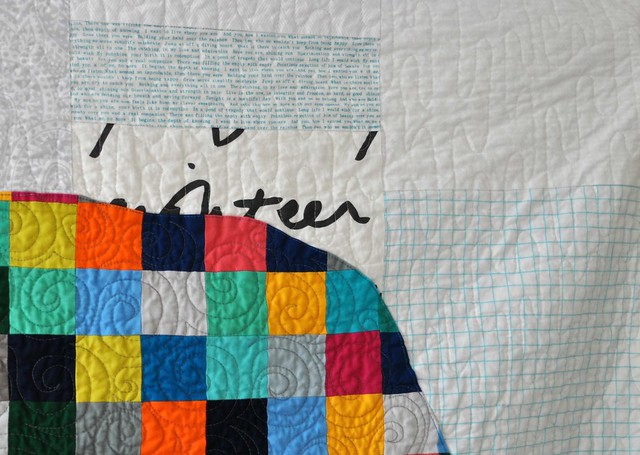
rhino quilting 2

I was asked how I made the rhino on my last rhino quilt post, and I didn't ever get around to answering, until now. There are a lot of steps and this is not a real tutorial but I wrote up the process I went through to make my two rhino quilts. Let me know if you are using this technique and need any clarification of these instructions.

To begin with, the main idea is to enlarge a shape onto fabric: when I was a kid, my mom had some pattern books that had small versions of a pattern overlaid with a grid; you were supposed to enlarge the pattern manually by drawing the image onto a larger grid following the line in one square at a time. See the image on this blog post for an example. Here is how I got my small grid image and enlarged it onto fabric.

1.   I had my smart teenager remove the background of a rhino image in photoshop.
2.      I uploaded the photo into EQ7 and started the process for a photo quilt, and then copied a screenshot of the rhino image with a grid overlay before clicking the preview button to make the image go pixelated for a photo quilt.  (If you don't have EQ then you need to figure out a way to get a grid overlay on your image.) Carefully consider the size of your finished applique and the size of squares you want to use. I used 2.5" squares (2" finished) for my rhino quilts.
3.      I printed out the screenshot image and then used it to draw the outline of the rhino for my project on graph paper.
4.      I used the graph paper drawing to determine how to piece the rhino. I pieced it in 5-square-wide columns, then sewed the columns together. I pressed seams open (normally I don't but it was helpful in this project.) I learned the hard way that anywhere there is a tiny fraction of a square included in the rhino shape, that square needed to be sewn onto the big rhino.
5.      After the whole rhino was sewn together, I used the graph paper drawing as a reference and drew the rhino edges on the right side of the fabric with regular pencil.
6.      I trimmed the whole rhino edge about 3/8" from the pencil line.
7.      I clipped inner curves and hand basted the edge under.
8.      I arranged the rhino on the prepared background, and hand basted it to the background. It was a little challenging to make sure the rhino was straight.
9.      I carefully machine appliqued the rhino to the background, sewing a scant 1/8" from the edge of the rhino.
10.  I removed both sets of basting stitches.
11.  Then I asked for some expert opinions and was told I should remove the background fabric from behind the applique. So I did, carefully cutting the backing away, about 1/2" from the stitching line.
12.  My quilt top was ready for basting, quilting, and binding!

I hope this helps anyone who wants to make a quilt like this! Please let me know if you decide to make your own large format applique quilt with this technique. :)

Wednesday, May 06, 2015

Giveaway Day!

This giveaway is closed now, the winner is #40, Lindsay. Thanks for commenting!

Hello friends! I'm back at the blog for Giveaway Day! Sew,Mama, Sew hosts giveaway day (which lasts several days) twice a year, make sure to visit their page and check out all the handmade items and sewing supplies that are being given away this week.

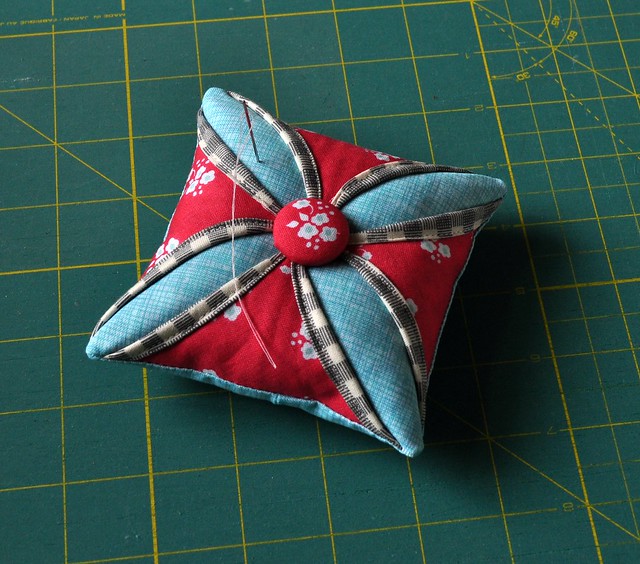
cathedral pincushion

I've made a couple cathedral window pincushions this past week and last night I decided to finish this one up and give it away. I'll include a little bundle of scraps, too. If you're interested in making your own pincushion, I used this Riley Blake tutorial to make mine.

This giveaway is open to U.S. commenters, to enter please leave a comment telling me something fun you hope to do this summer. Comments will be open until May 10 at 5 p.m. Pacific time, and I'll update this post with the winner at that time. Comments are moderated so don't worry if you don't see your comment right away. Please make sure your email address is included in your comment if you're a no-reply commenter.

Have fun with all the giveaways!

Saturday, January 31, 2015

EQ7 Block Challenge

Hi! I found out earlier in the month that Electric Quilt was having a block design contest using the new Fresh Cut fabrics from BasicGrey, and decided to enter this block:


Here's what it would look like in quilt format with the blues, greys, and pinks from the line:


Or you could go all multicolor like this:


I had fun working with EQ7 and this fabric line. Guess I should make up one of these blocks in real life, next.

Monday, January 26, 2015

QDAD and miniquilt swap

Over the last couple months, I participated in the latest Schnitzel & Boo miniquilt swap on Instagram. My favorite thing about doing these swaps (I don't do them very often) is the challenge to make something the recipient will really enjoy. Also, I've been participating in the Quilt Design A Day group on facebook for a few months. I do not do a design every day, but I've posted over 50 designs to the group since last August. I ended up making one of my QDAD designs into an actual quilt for this swap.

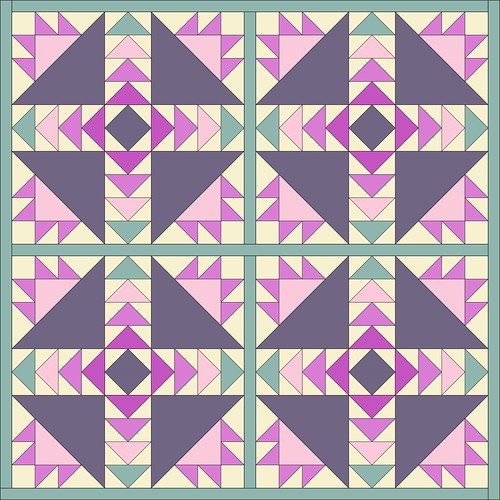
Here's the design I posted to the QDAD group on 9/3/14:
9314 
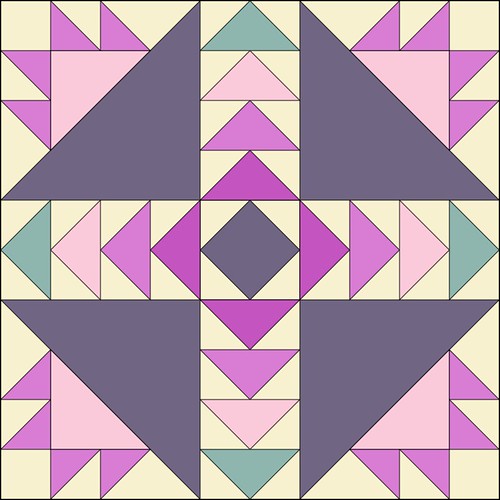
I started with the cross and crown quilt block and changed it up, adding flying geese rows down the vertical and horizontal centers, and changing the corner units to a sort of bear paw shape. The QDAD group has a suggested palette each day and that's where these colors came from.

I wanted to make my mini with just one of these complex blocks, so here's what I posted to IG when I was considering this for my mini quilt design.
mini maybe 

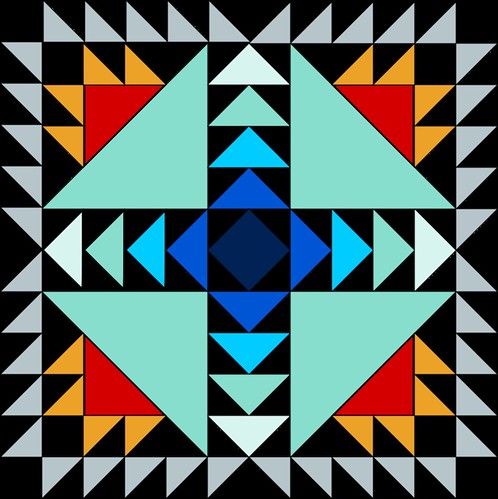
And then I changed the colors (I actually used another QDAD palette) and added a sawtooth border as seen below:
mini maybe border 

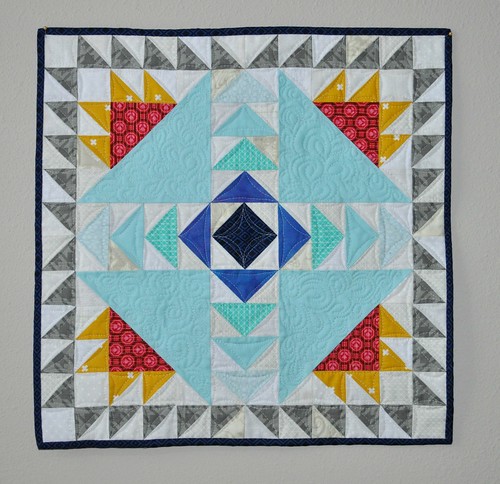
I figured out the cutting and triangle math and sewed it up! Here is the finished quilt, 18" square:
sb miniquilt swap

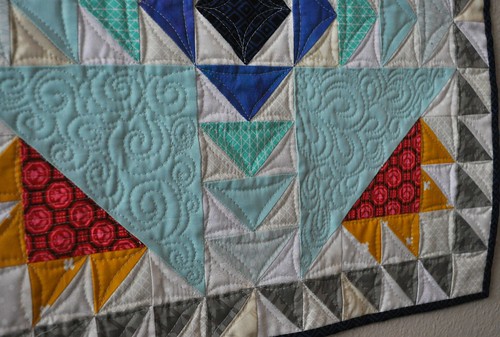
Here's a closeup of the quilting:
mini quilting closeup

I've started another one just like it for me to keep.
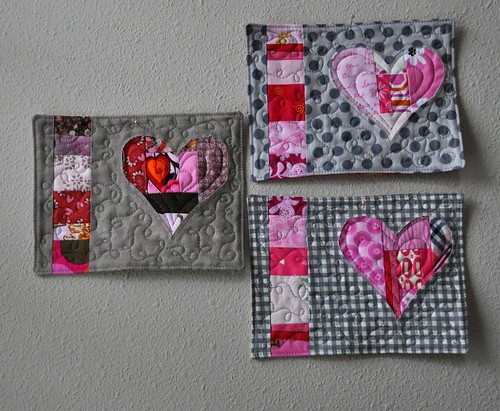
A couple other things--I made some mug rug Valentines and sent one along as an extra with my mini:
valentines
I turned and topstitched the edges instead of binding such small quilts.

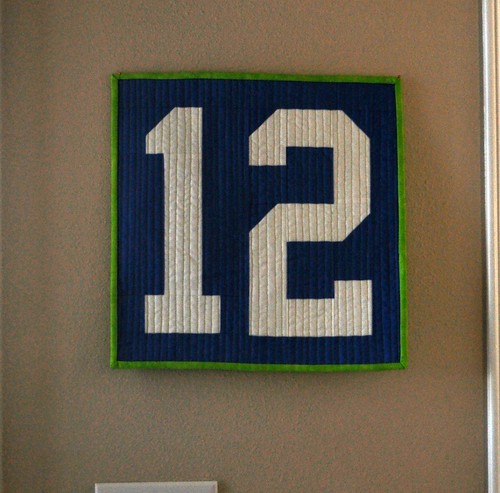
And, last week I made a 12th man quilt;go Seahawks!
twelve mini 

Hope you have a great week!

Tuesday, January 13, 2015

Scrappy Stockings (again)

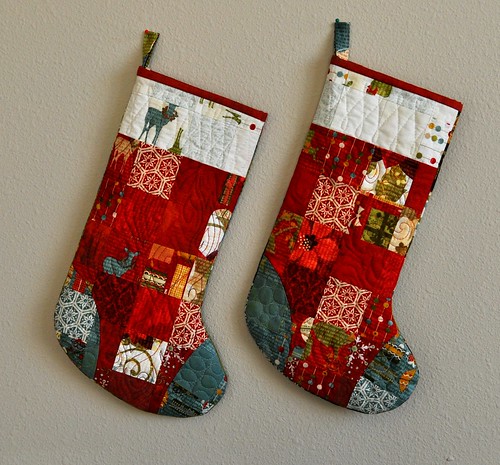
I finished up 2 new Christmas stockings for my husband and myself about 2 days after we put away all our Christmas decorations. So I don't have photos of all five of our family's stockings together and the beginning middle of January is a weird time to share Christmas stocking pics but hey, I got them done and wanted to share.

stockings

I used a charm pack of BasicGrey Christmas fabric from a few years ago to make these stockings, with the charm squares cut into 2.5" squares for the stocking fronts. For the backs of the stockings, I sewed together more of the 5" charm squares. The backs of the stockings aren't quilted.

stockings back

I originally made this pattern up about 12 years ago when I made a stocking my for oldest son. In 2010 I had finished my daughter's stocking and I shared the pattern and tutorial on the Sew We Quilt blog. Last month I tried to retrieve the pattern from scribd, a process which was free and easy in 2010, and in 2014 it was not so easy. So I've uploaded it to Craftsy (for free) for your stocking making pleasure. The instructions are still available here on the Sew We Quilt blog. 

Here's the link to the stocking pattern. When you print the pattern, make sure page scaling is set to "none."

I'd love to see your stockings made from this pattern!

Thursday, January 01, 2015

Happy New Year!!

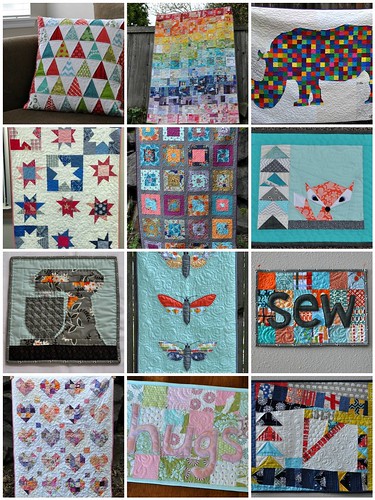
Here's my 2014 mosaic of completed projects:

things I made in 2014 

My main sewing goals for 2015 are to blog about my work in the Quilt Design a Day group, continue to create and post designs to the group, make a few of my QDAD designs come to life in fabric and thread, and make and sell some quilt patterns. 

Oh, and finish all my UFOs! j/k. Or maybe not.

Here's to a happy and peaceful 2015.